How to Setup Email with Namecheap Using Gmail 2023
This post may contain affiliate links. Please read our disclosure policy.
Are you looking for a new and exciting way to manage your email with Gmail? In this tutorial, we will show you how to setup email with Namecheap using Gmail. This is a great way to combine the power of Gmail with the reliability of Namecheap. So let’s get started!
How to Setup Email with Namecheap Using Gmail
Before we proceed, be sure you have an active email hosting on Namecheap and you need to disable 2-Factor Authentication. Enable it later once you successfully added your Namecheap private email to Gmail.
In addition to active email hosting, you should have a fully functioning email using your email domain, meaning you successfully configured your private email on Namecheap. It can send and receive email using their privateemail.com webmail.
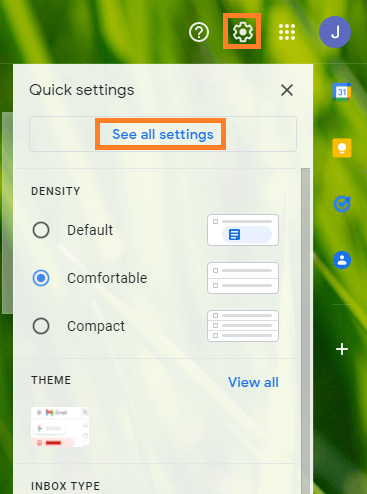
Step 1. Login to your Gmail account and go to settings.
The settings is found on the top right of Gmail. Click on the gear icon and click See all settings.
Step 2. Add email account
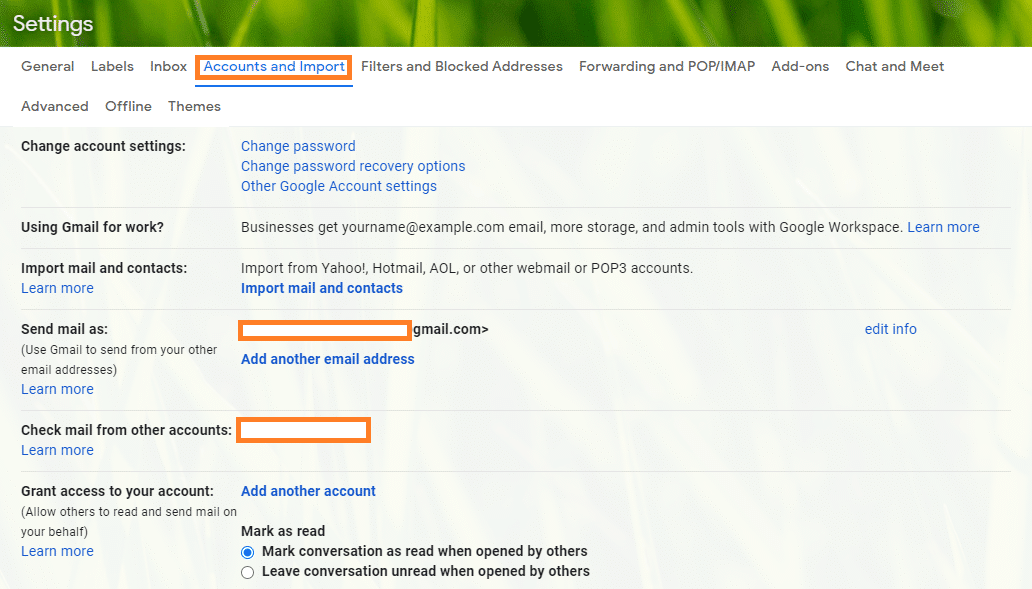
In the settings tab, go to Accounts and Import > Add a mail account.
Step 3. Enter your email address
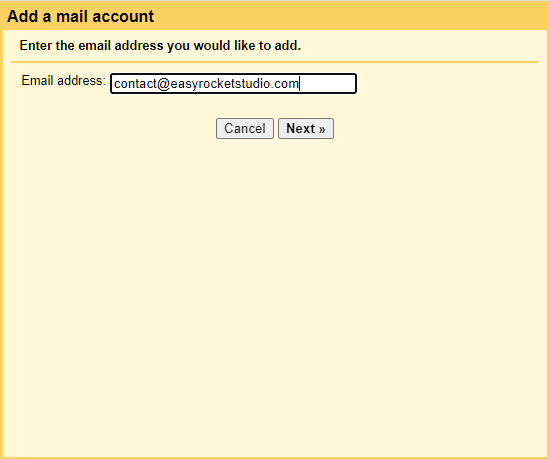
Enter the private email address you signed up for Namecheap email hosting.
Step 4. Configure email settings
Since Namecheap email hosting is not available for Gmailify, we’ll choose Import emails from my other account (POP3). Hit Next.
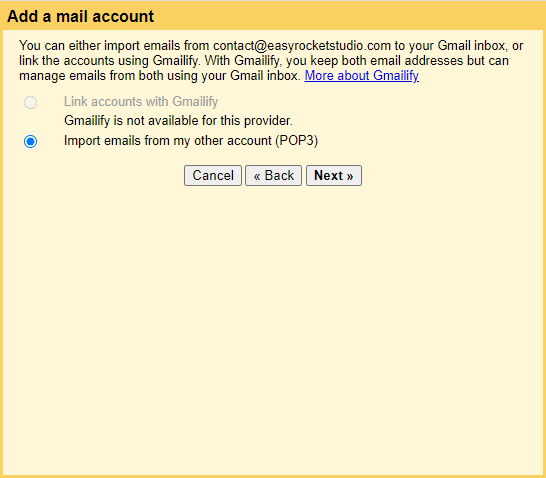
Enter the following accounts as follows:
- Username: Your private email username
- Password: The password of your private email username
- POP server: mail.privateemail.com
- Port: Choose 995
Check the following:
- Leave a copy of retrieved message on the server.
- Always use a secure connection (SSL) when retrieving mail.
- Label incoming messages: (Choose new label to identify your email)
I don’t want to check Archive incoming messages since I want all emails to go to my inbox.
Hit Add Account.
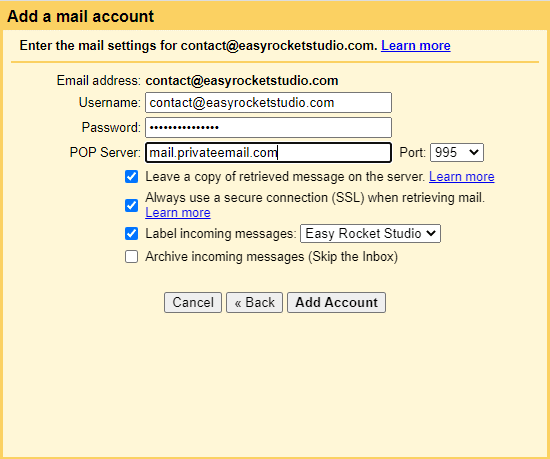
Once you successfully added your private email account on Gmail, you can opt to use Gmail to compose new messages.
Hit Next.
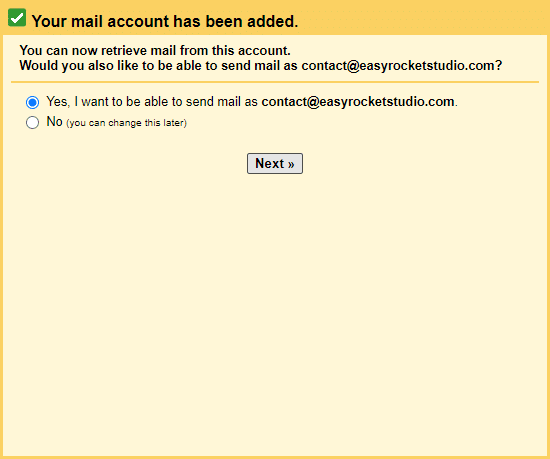
Add your Name and check the box if you want it to be an alias.
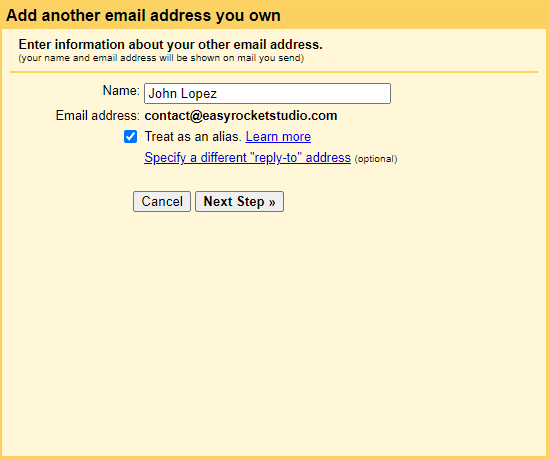
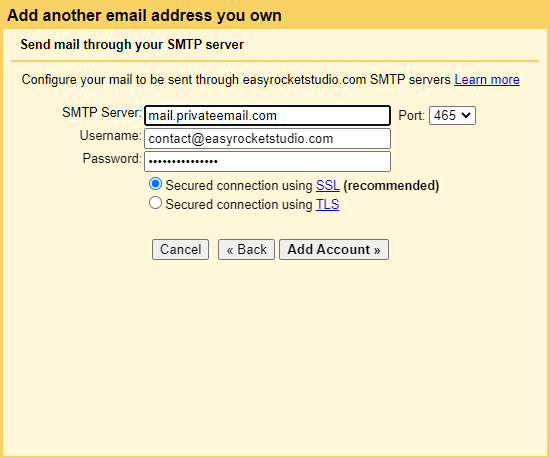
Configure the settings as follows:
- SMTP server: mail.privateemail.com
- Username: full email address of your Private Email account
- Password: password for your Private Email account
- Port: 465 for Secured connection using SSL or 587 for Secured connection using TLS
Click on Add Account once all the details are filled:
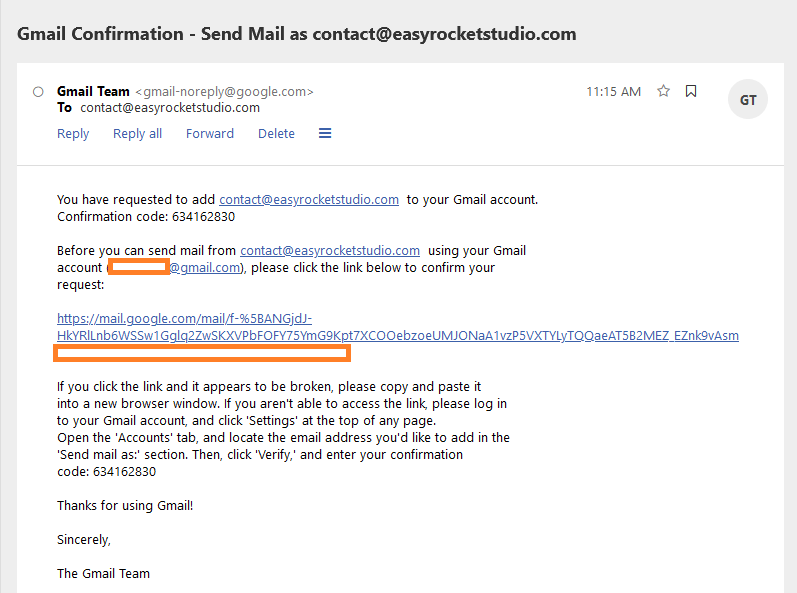
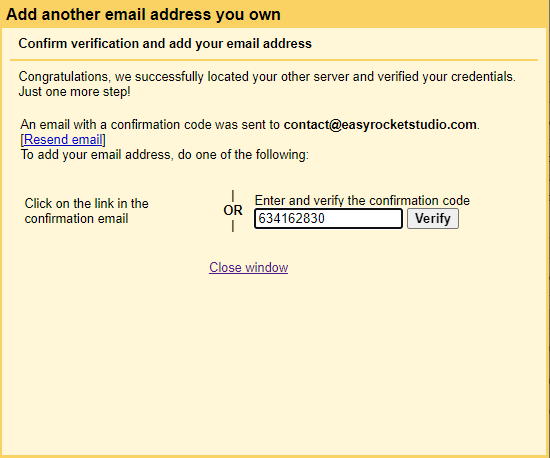
Go to your private email and click the confirmation link or copy the code into Gmail.
Click Verify.
Step 5. Testing
Now you’ve finally added your private email into Gmail, let’s test some few things.
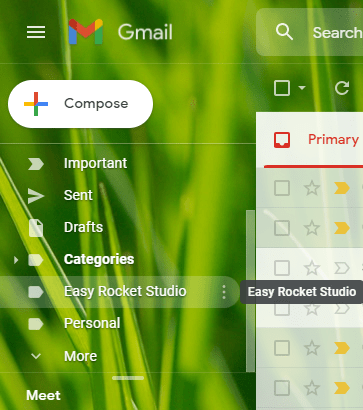
First test. You created your label successfully.
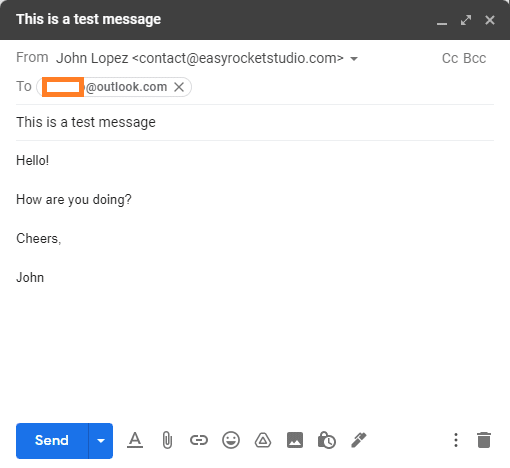
Second test. You can send and receive email from Gmail.
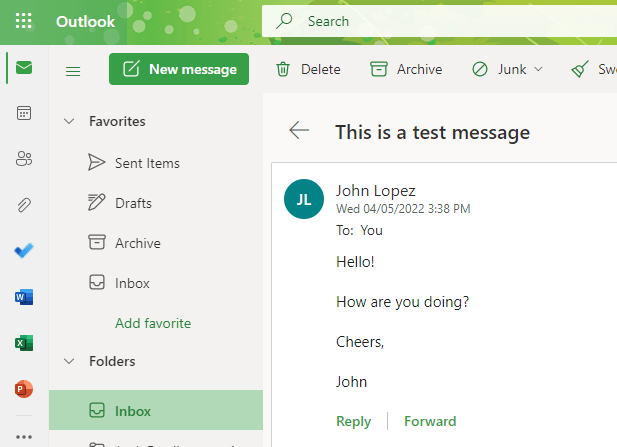
Successfully received.
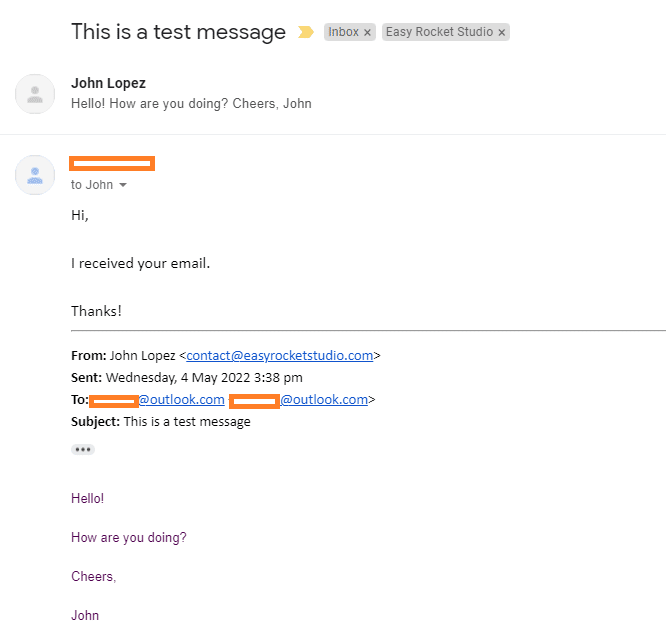
Replying to the sent message from Outlook.
Frequently Asked Questions
What is Namecheap private email?
Namecheap private email is a secure email service that helps you to keep your communication safe and confidential. It provides a range of features to protect your privacy, including password-protected email, encrypted email, and the ability to set up alias addresses.
Namecheap private email is also easy to use, with a simple interface that makes it easy to stay organized and manage your inbox.
What’s the difference between SSL and TSL?
There is a difference between SSL and TSL, two commonly used encryption protocols that are used to protect data online. SSL, or Secure Sockets Layer, provides secure connections between servers and web browsers, encrypting the communications that take place between these two entities. In contrast, TSL, or Transport Layer Security, goes one step further by also encrypting communications between the browser and the server’s host machine.
This difference makes SSL more suitable for sensitive web traffic like financial transactions or user logins, while TSL is best suited for less sensitive data such as browsing history.
Another difference is that while SSL uses digital certificates to validate its security, TSL relies on trusted third parties instead. This difference makes TSL more adaptable and scalable than SSL in large organizations where authentication may need to be delegated to several different parties.
Overall, while both protocols offer strong protection against cyber attacks and other forms of online security threats, they are used for different purposes depending on the needs of different organizations.
Understanding their key differences can help you better choose which protocol will be most appropriate for your specific use case.
After successfully added my private email on Gmail, can I login through Gmail using my private email account?
Absolutely not. Since you are using Gmail to fetch your email from your private email, you’re not creating an account on Gmail itself.
I’m getting “Server returned error: “Connection refused”. How to resolve this issue?
First, check your security details. If you enable 2-Step verification, this will return an error. Disable your 2-Step verification and enable it back once you successfully added your private email on Gmail.
Next, be sure you configured your email properly with the right details. Take note that Gmail generates automatic details. You may get confused and use them accidentally.
Back to You
That’s it! You’ve successfully setup email with Namecheap using Gmail! Now you can access all of your emails from one place and keep your inbox organized.
Take note, you can also do this on different email hosting and not just Namecheap. Just be sure your email provider allows secure connections and email protocols.
If you have any questions about this process or how to use Namecheap private email with Gmail, feel free to comment down below. Thanks for reading and happy emailing!

